[vc_row][vc_column][vc_column_text]
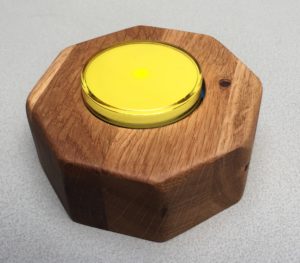
It feels smooth.
It smells good.
And, hey, I can push it! When I do, a little bright spot in the center of the button lights up, and stays so for 25 minutes.
It’s gotta be the most complicated Pomodoro timer ever built by human kind, but it was a hell of a ride.
[/vc_column_text][/vc_column][/vc_row][vc_row][vc_column][vc_empty_space][/vc_column][/vc_row][vc_row][vc_column][vc_column_text]
It’s made of these components:
- ADAFRUIT CP2104 FRIEND – USB TO SERIAL CONVERTER
- SparkFun Battery Babysitter – LiPo Battery Manager
- Arduino Pro Mini 3.3V
Here’s my very arguable motivation to build such a complicated thing for so little return:
- Using my phone as a timer is less than ideal: the screen goes black and I have no immediate way to see if the timer is running or not. I have to touch the phone every time the doubt insinuates my thoughts. Very distracting.
- I wanted to build something nice and that I’m proud of, as a (very weak) extrinsic motivation to keep using the timer.
- I wanted to play with Arduino a LiPo batteries.
And these the requirements:
- Should be nice and sturdy. An important object of its own right. People should walk by my desk and go “What the **** is that?”
- Can’t be thicker than 4 cm because that’s the size of the wood I have in stock. And that’s already too thick.
- It needs to hold a charge, warn me when I need to plug it in, and plugging it should not disrupt the functionality.
- Nice to have: when it’s plugged in, there should be an API running on USB that allows magic things to happen with a proper companion software on the PC.
The ability to be charged safely and monitor the state of charge quickly drove me to the rather nice SparkFun Battery Babysitter module, that does everything one needs. Because of the limited voltage of a single-cell LiPo battery, the choice of the Arduino is limited to 3.3V. Finally, because of size requirements, large boards were out of the discussion, so I was left with an Arduino Pro Mini 3.3V and a separate USB module, from Adafruit.
The design of the object quickly converged to a wooden octagon, simple enough to build by hand. I used a table saw to make the external shape. Then I made a circular hole using a router attached to a jig made on purpose to rotate the router along the proper circular path. Then I carved the inside using a drill and finished it with the router. The wood was then finished using oil.
Packing the electronic components inside the wooden case was more of a challenge. It took several hours of modeling using OpenSCAD, to make a parametric design that I could tweak and think through as I went. I ended up writing about 600 lines of code to get this:
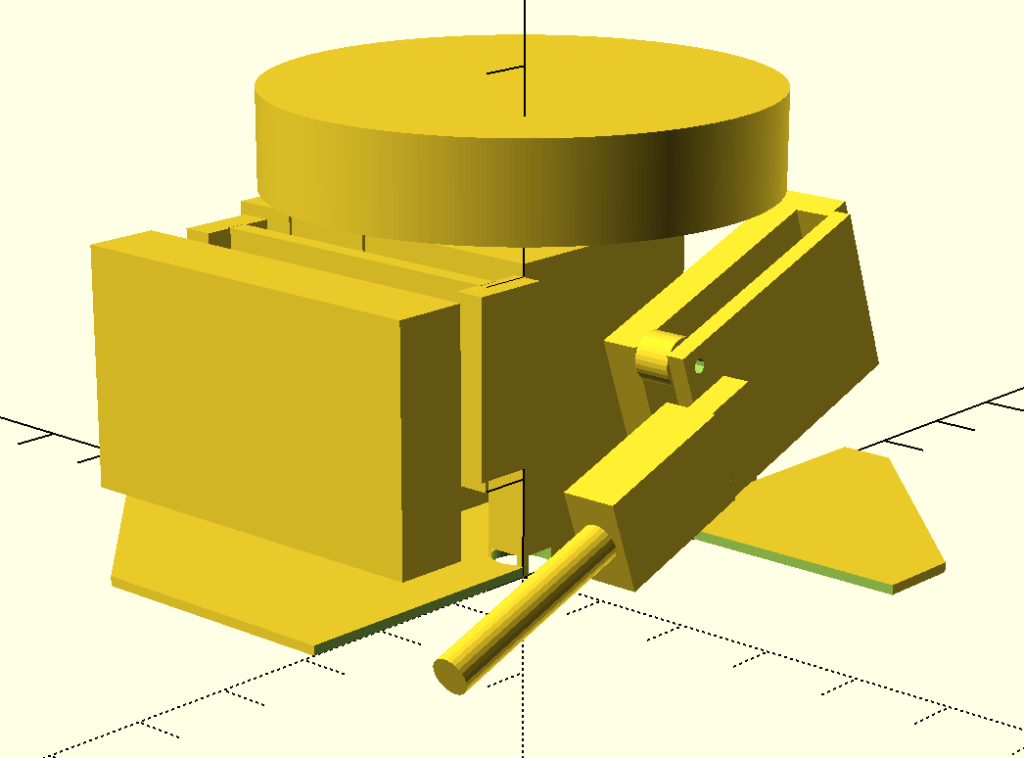
I the used the Ultimark II 3D printer to print the holding structure, which I fixed into place using screws a bit of glue.
Ok. Now that I have my timer, I can finally go back to work! 🙂
[/vc_column_text][/vc_column][/vc_row]